What I didn’t realize until I sat down to do one of the crafts on our list was that most of these require materials we don’t seem to have at hand. (So while I am good at making lists of ideas, I neglected to make one for supplies. Good job, eh?) One of the only items on the list that had simple supplies was the paper-plate dogs.
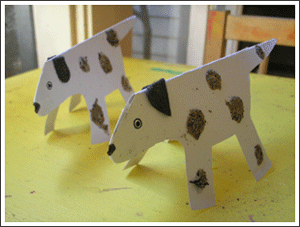
The full tutorial from kids craft weekly.
Believe it or not, I didn’t have white paper plates, but I did have some heavy weight paper. So I drew the doggie. (yep, I made him too fat at first but it didn’t matter since we cut it out.)
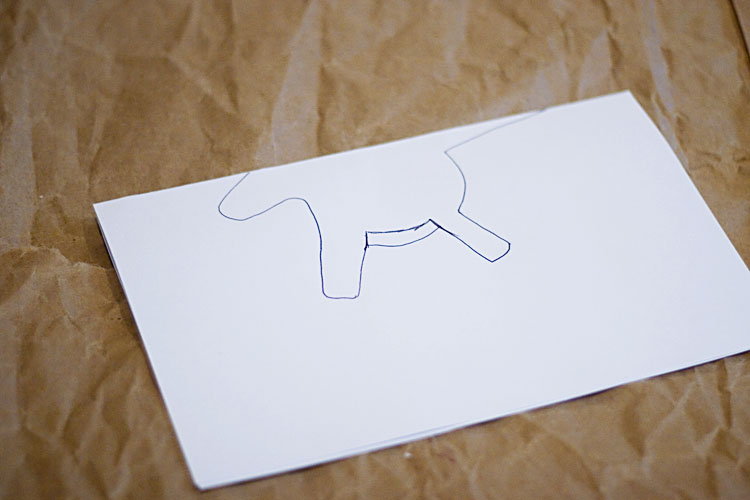
After I cut it out, we turned it inside out so the drawing lines would not show. We taped the head and the tail. Then I drew an eye and a nose and David colored it in.
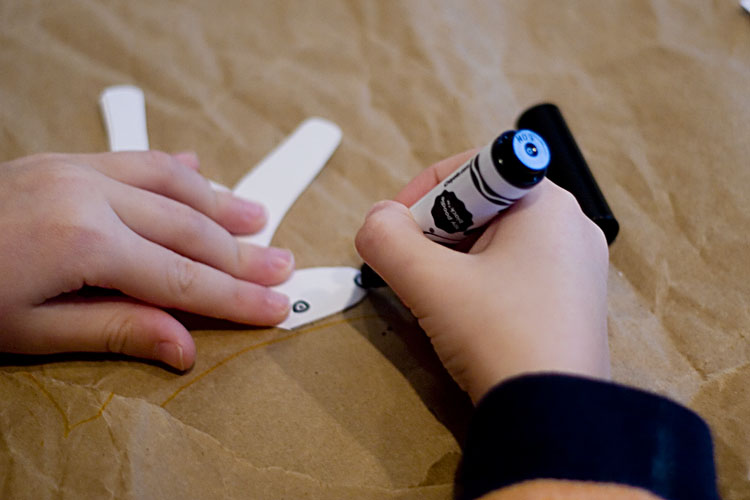
We then cut up a tiny bit of gray fabric to make his ears. He was already looking pretty good by then.
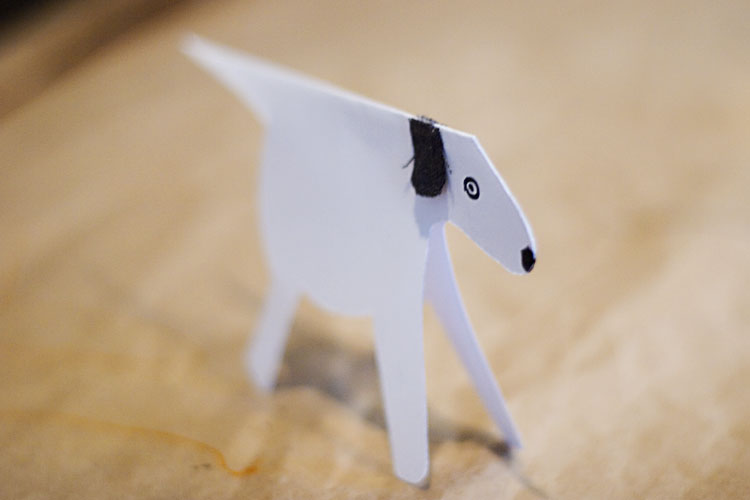
The tutorial then has some glue and dirt for the spots. But I had something easier, so I pulled my stickles and drew some circles for David to color in.
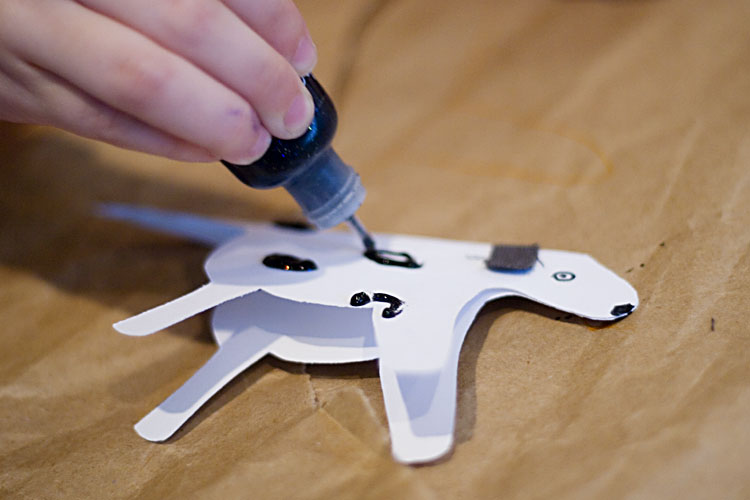
And here’s our final product, left to dry overnight.
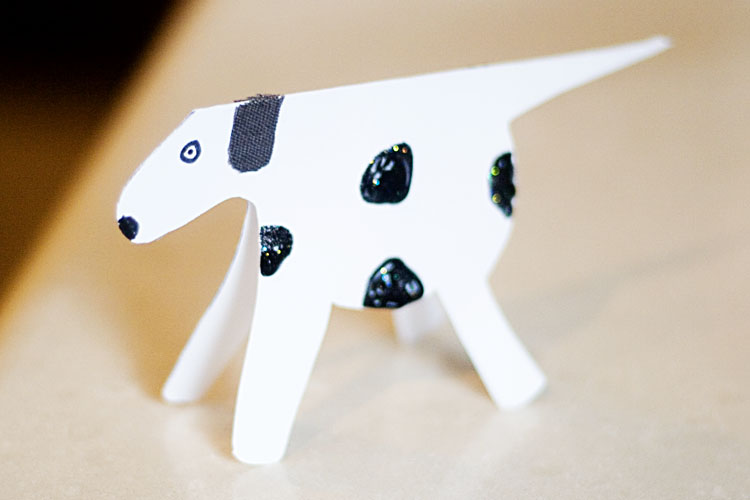
Looks pretty cute if you ask me.


bu faaliyeti sen mi yaptin , yoksa oglun mu??? ya da cogu sen azi o ama beraber vakit gecirdiniz :))
beraber yaptik iste ablacim 🙂 ben cizdim, kestim, o boyadi! 🙂
I like Spot 🙂 What a cool and easy idea! Great start to a craft-y 2010 🙂